Western Canada Poultry Swap
Would you like to react to this message? Create an account in a few clicks or log in to continue.
Western Canada Poultry Swap

Forum dedicated to the buying and selling of quality heritage poultry in Western Canada.


You are not connected. Please login or register

Home Made Battery Style Brooder. Picture Heavy.

+4
KathyS
Schipperkesue
CynthiaM
bcboy
8 posters

Go down  Message [Page 1 of 1]

bcboy

bcboy
Addicted Member
Addicted Member

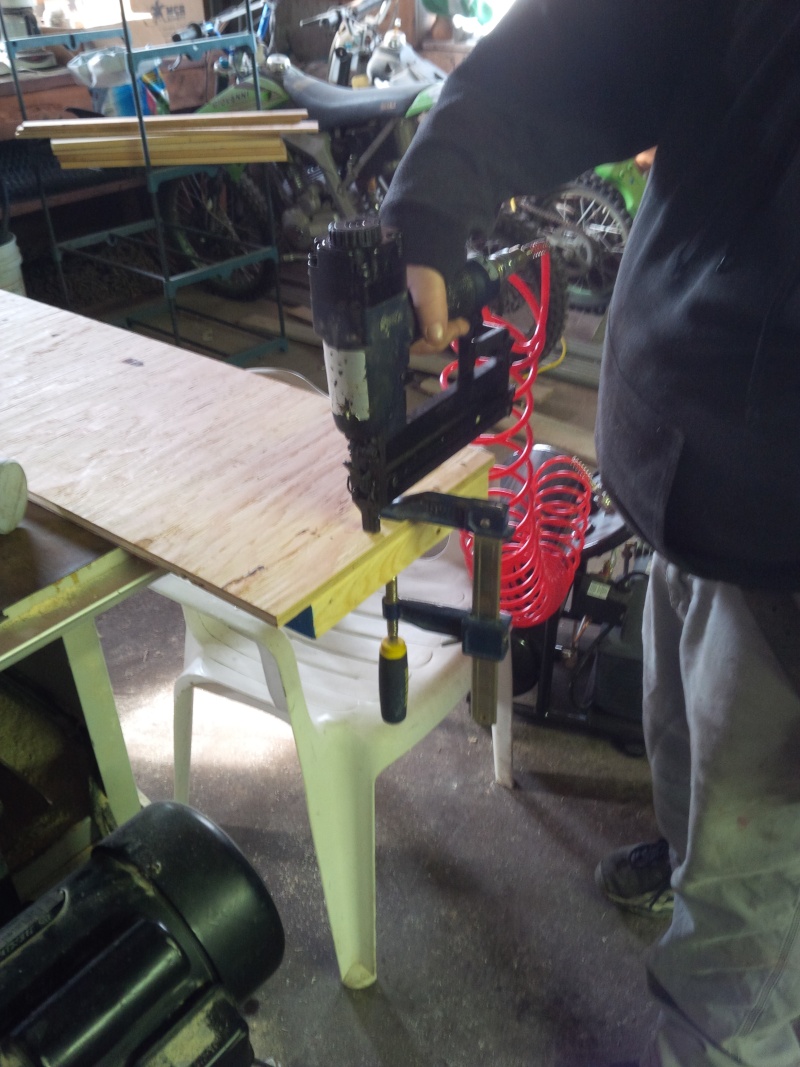
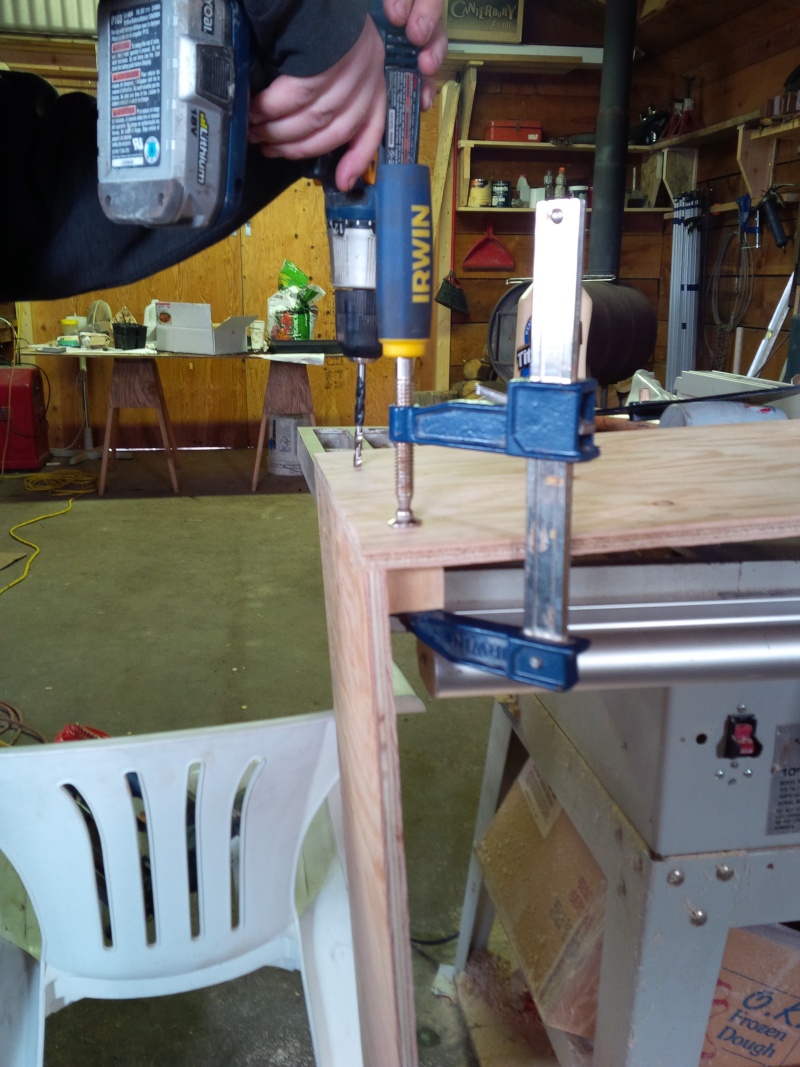
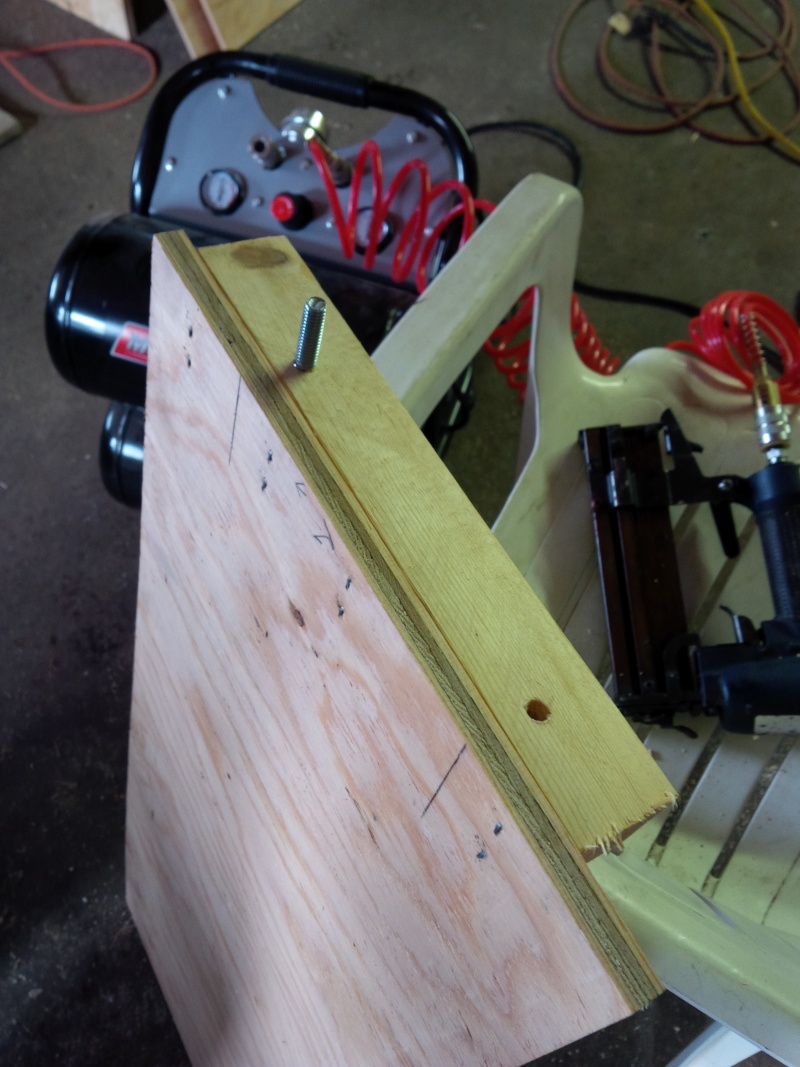
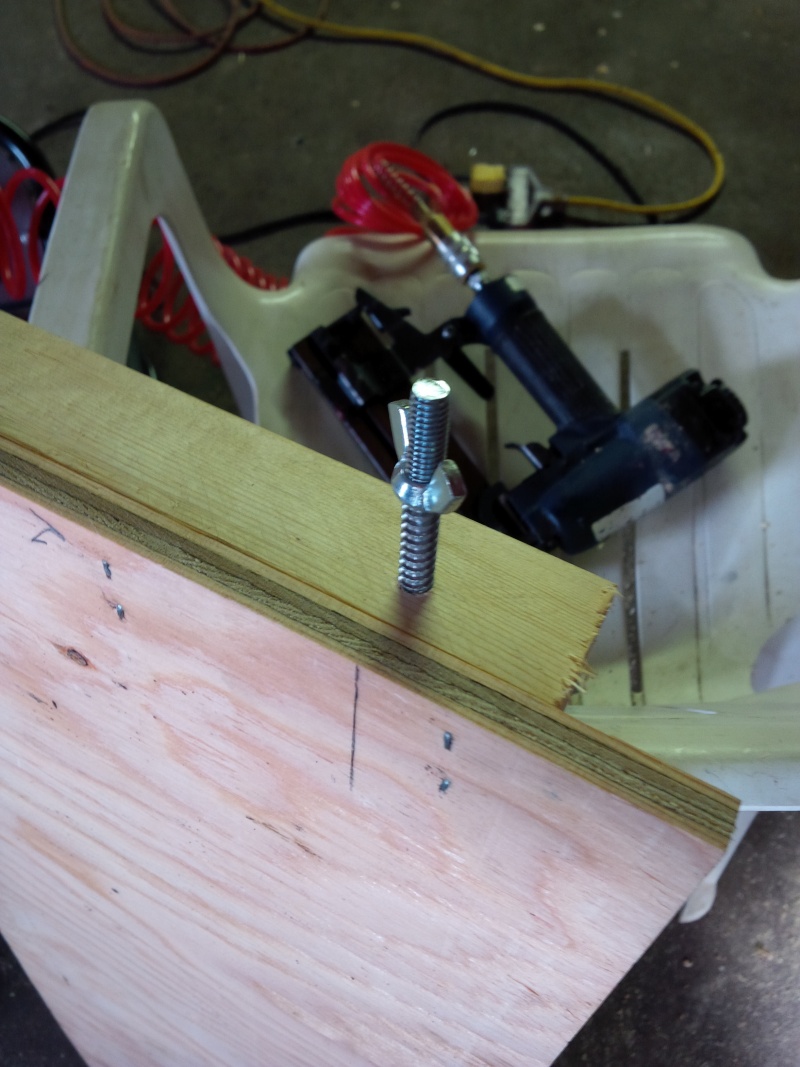
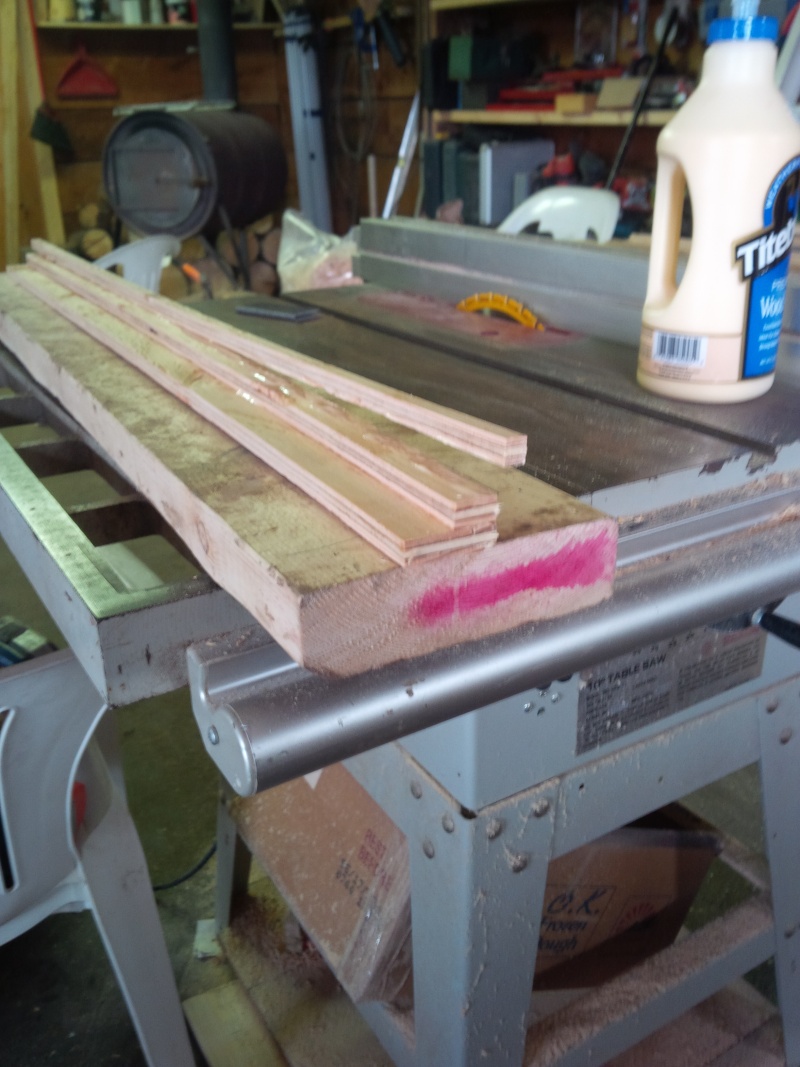
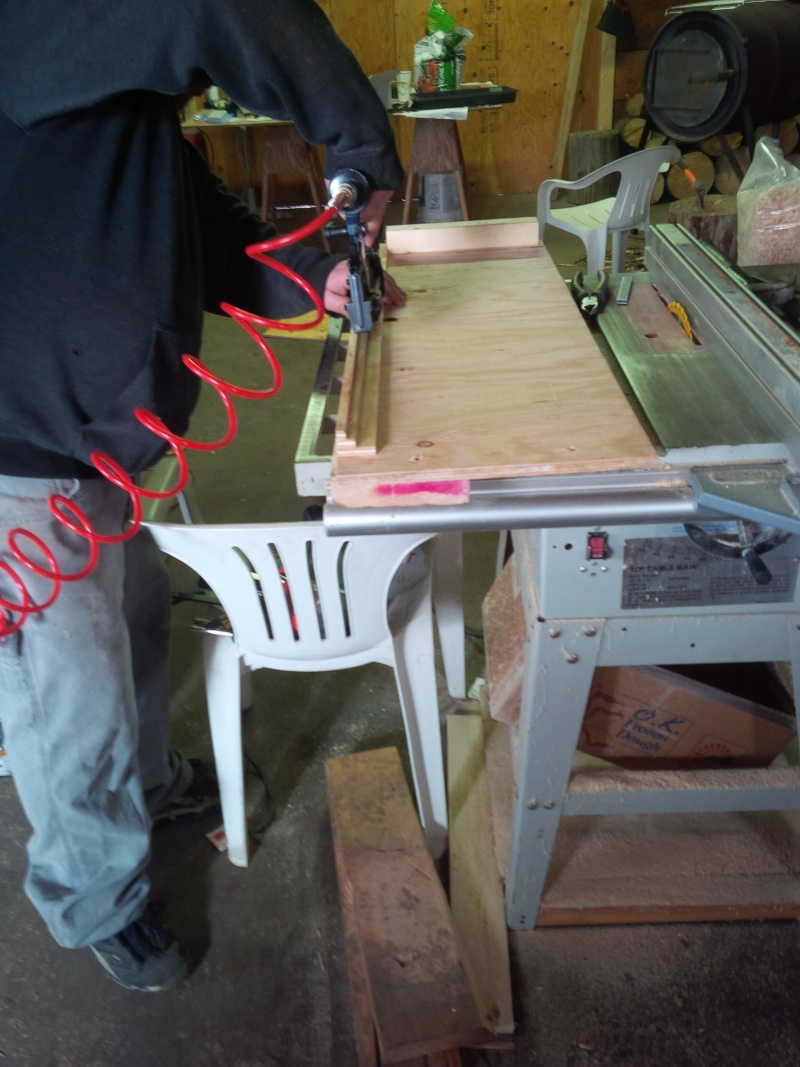
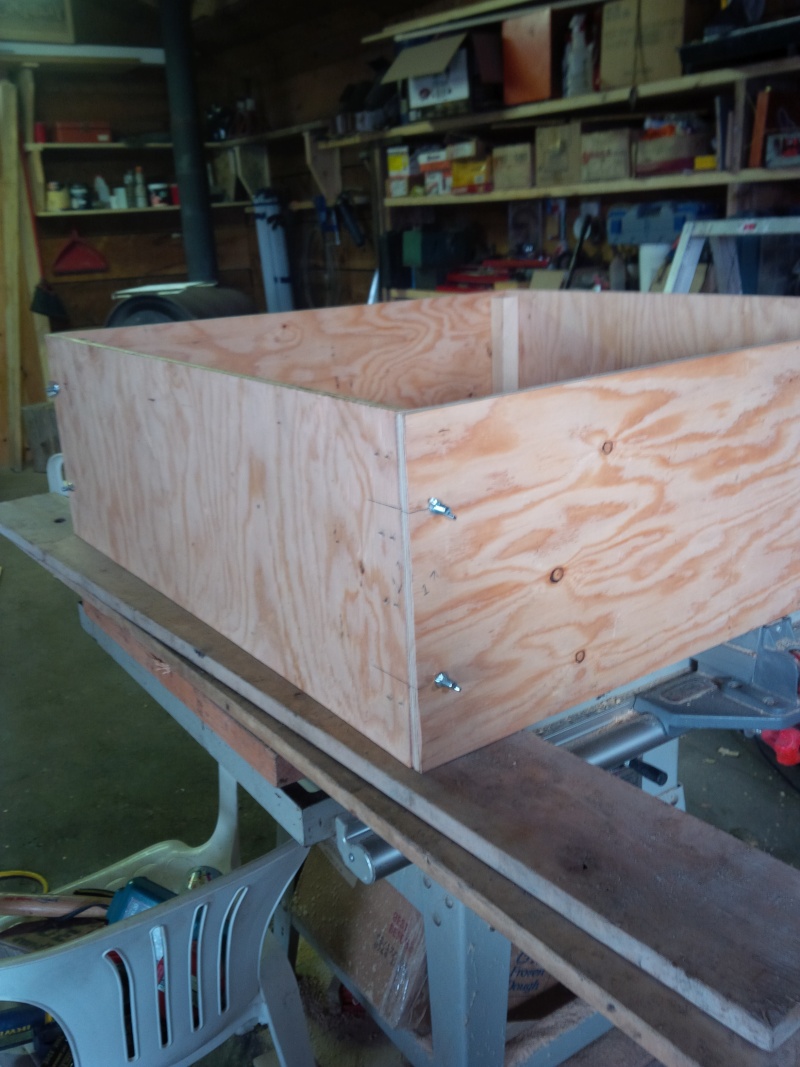
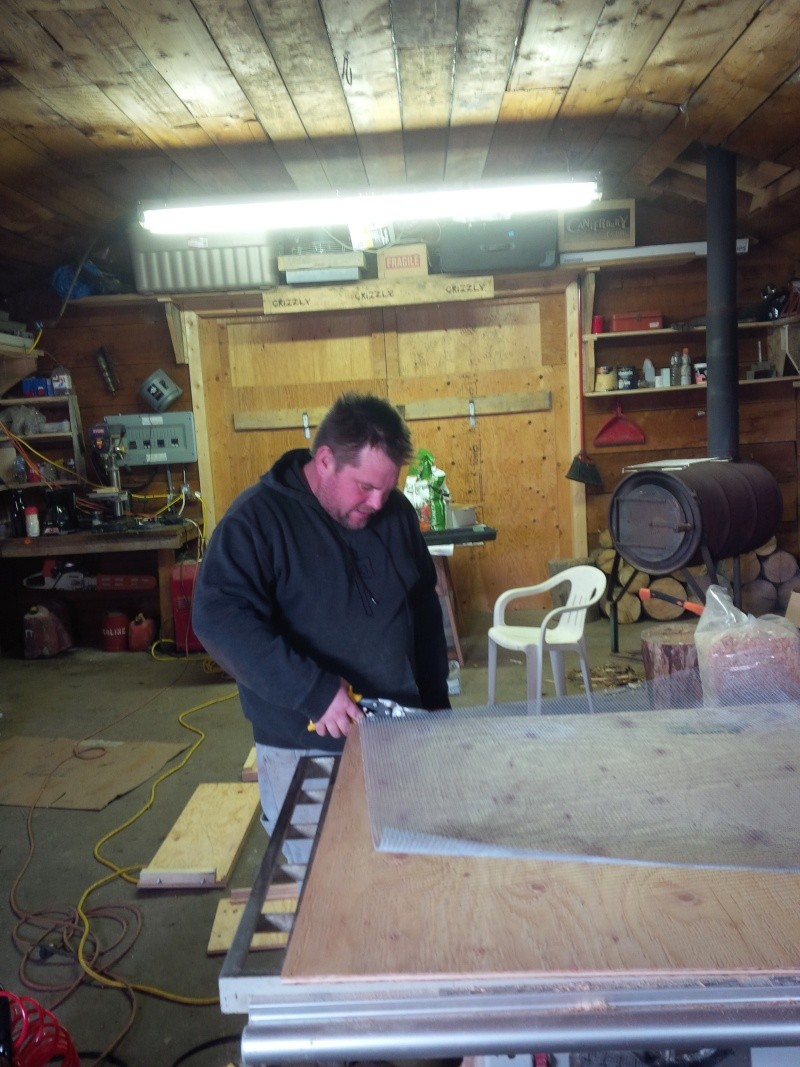
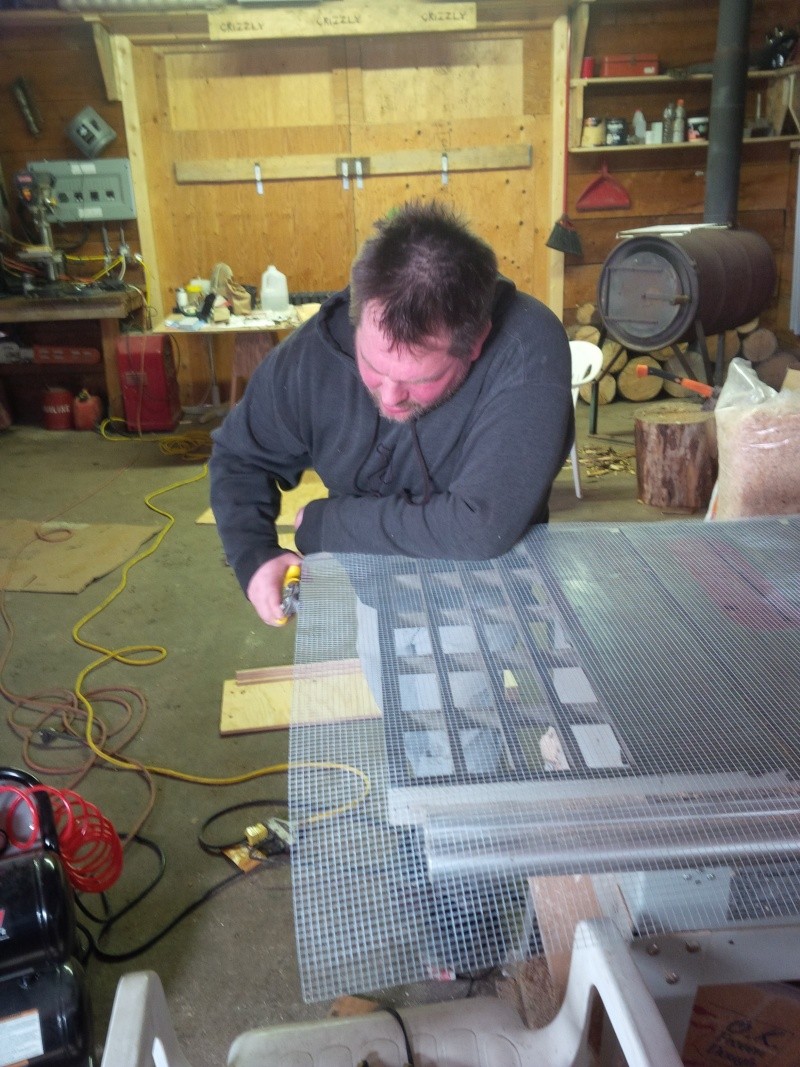
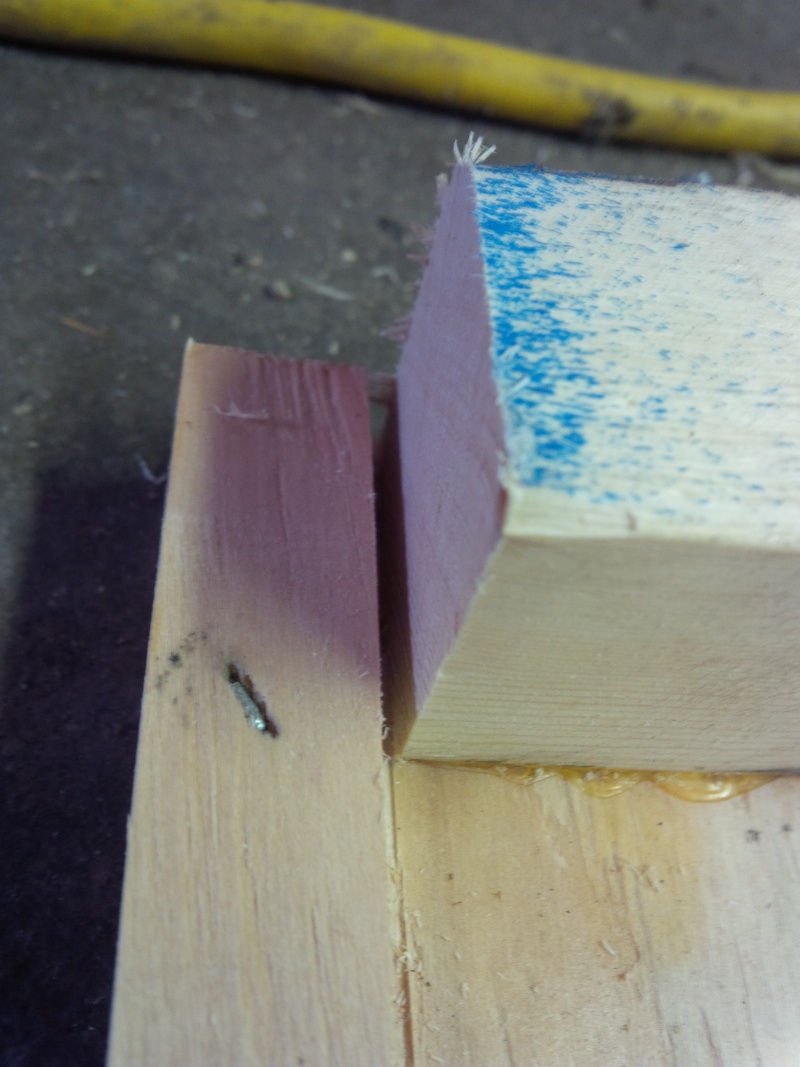
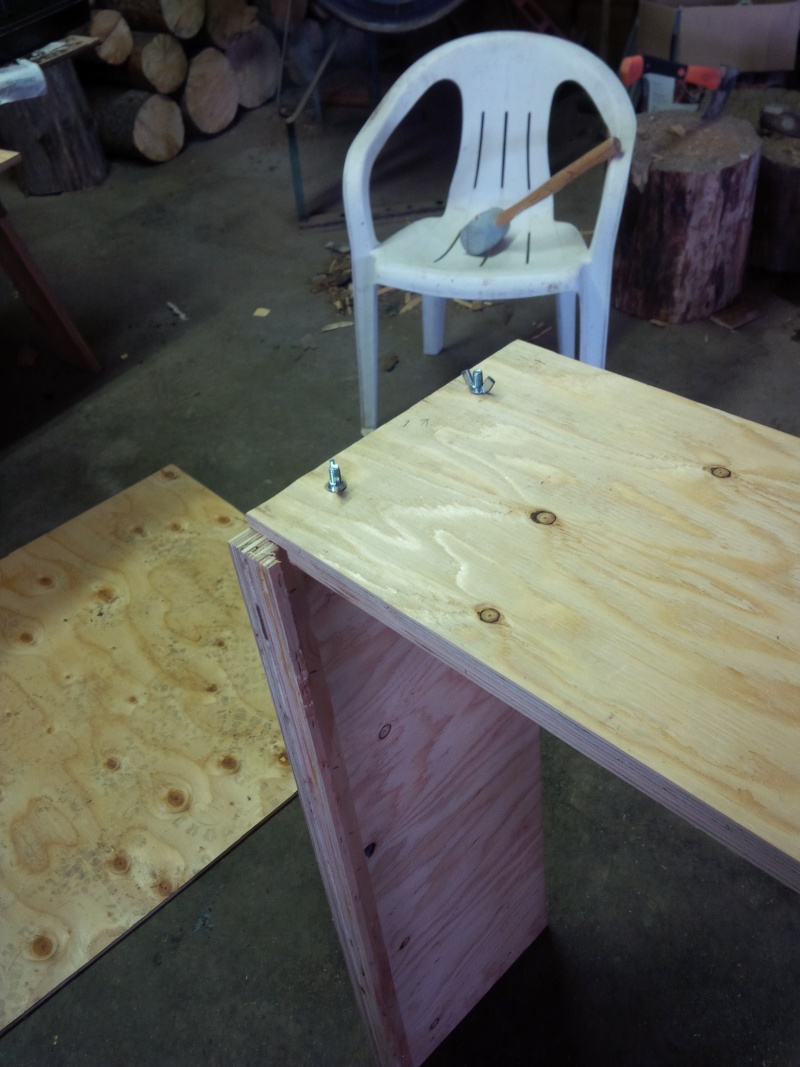
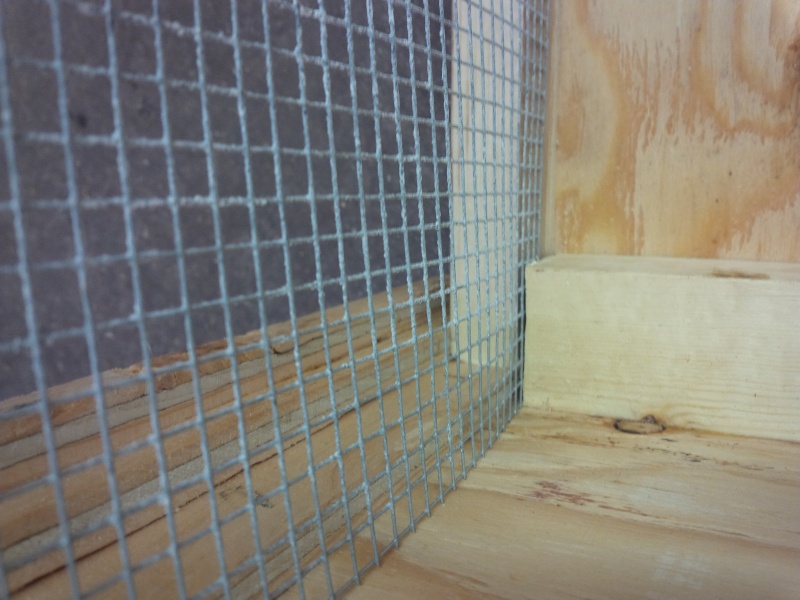
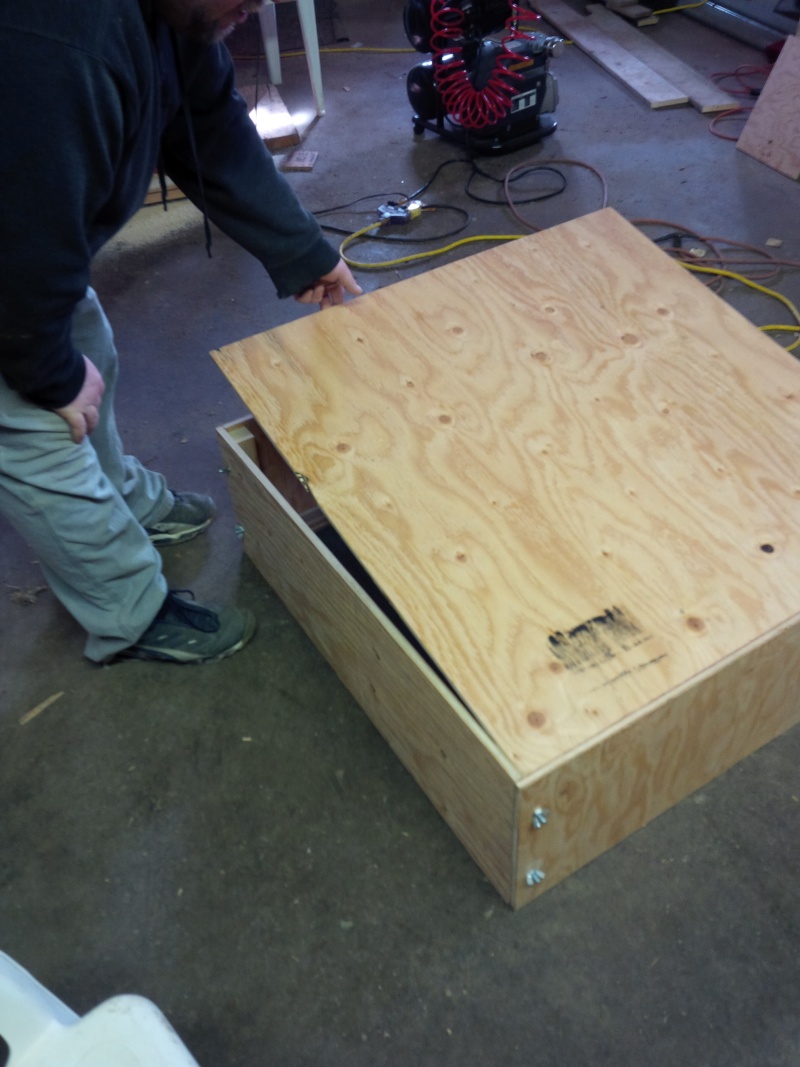
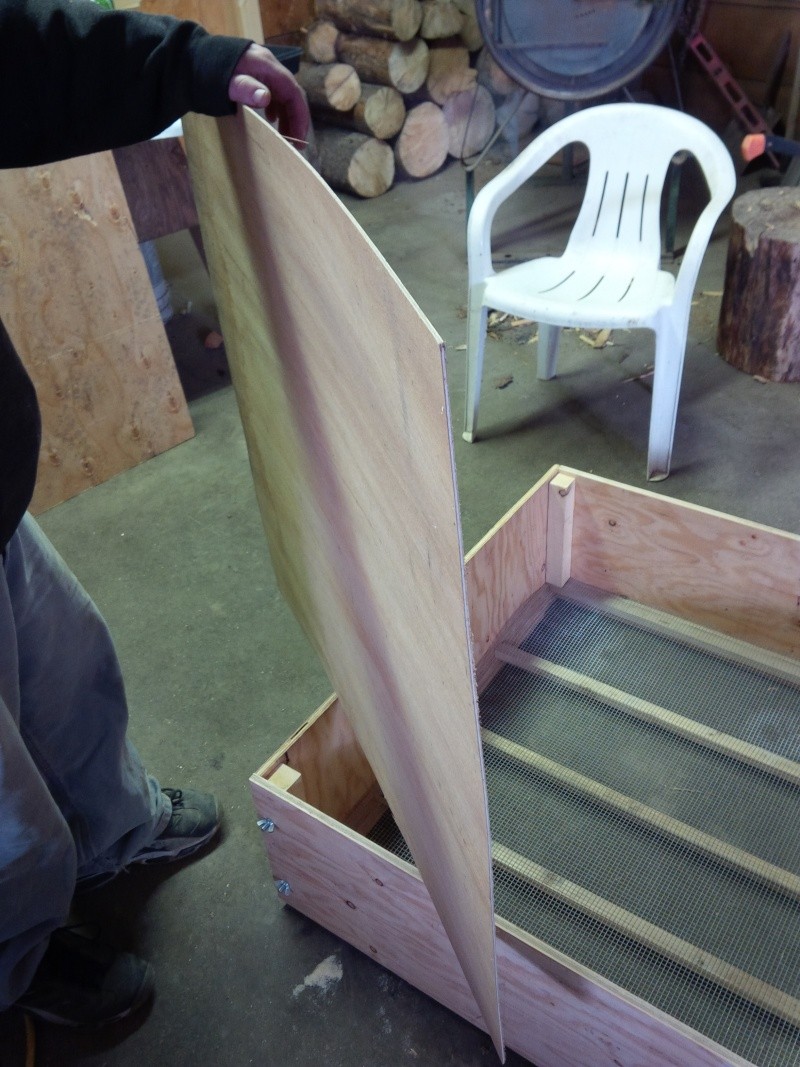
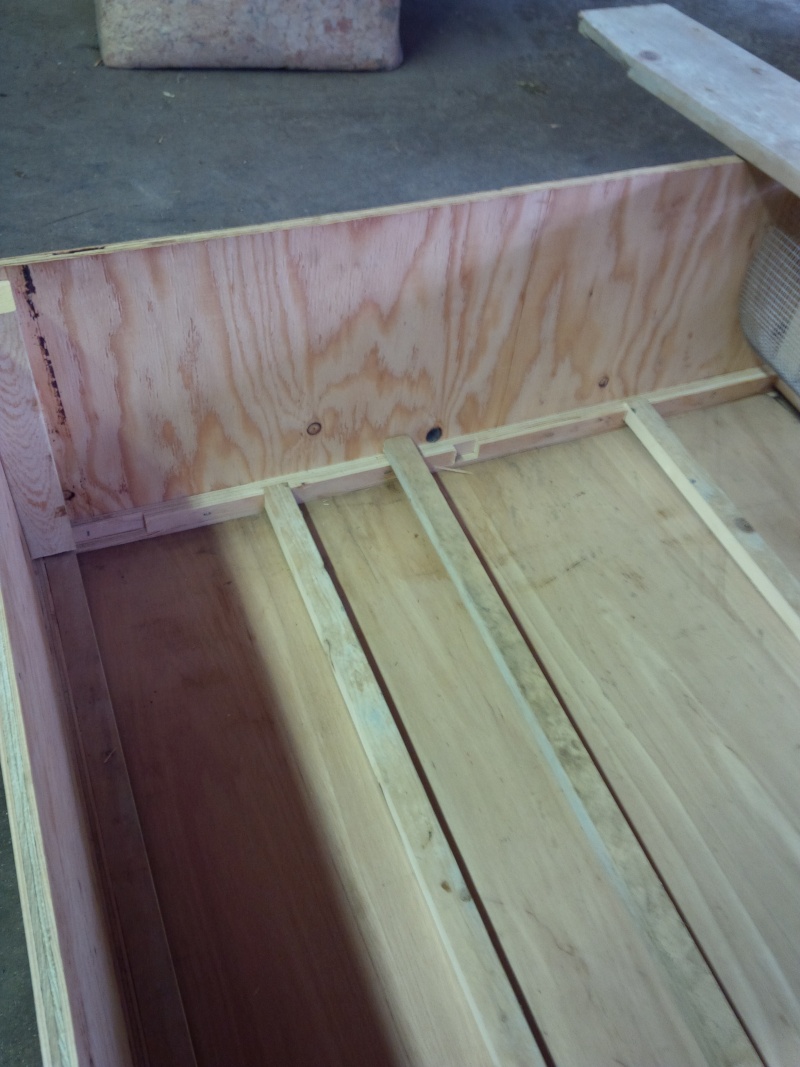
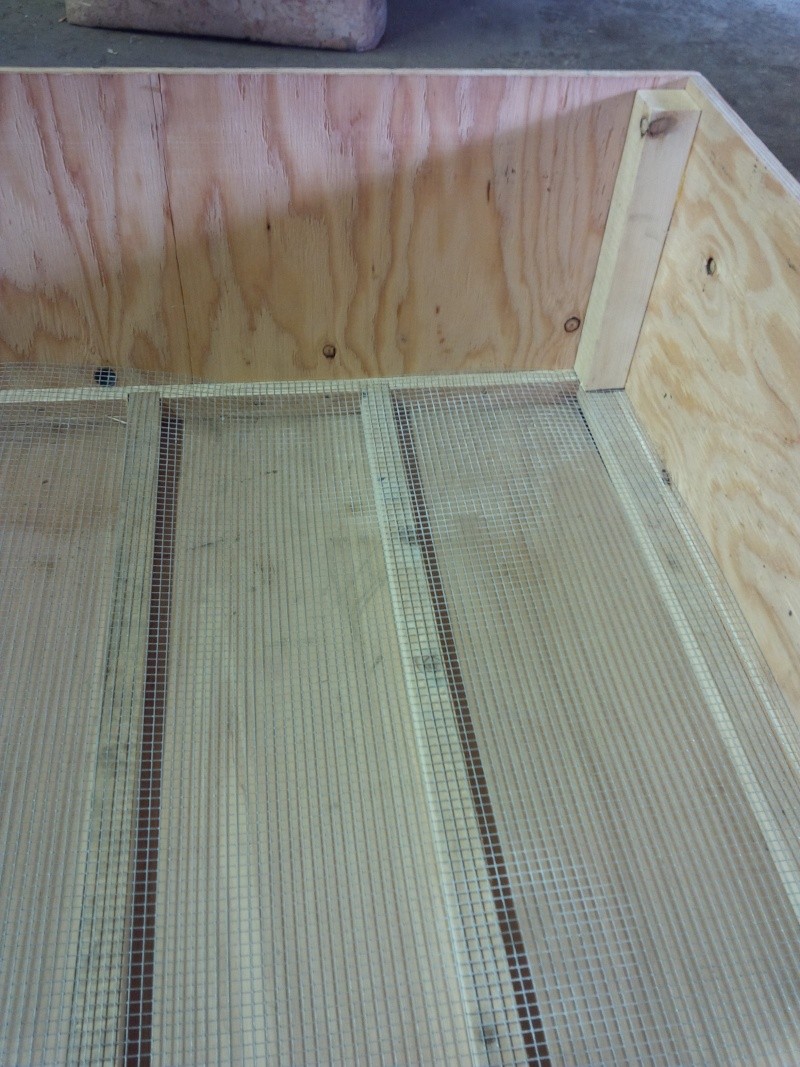
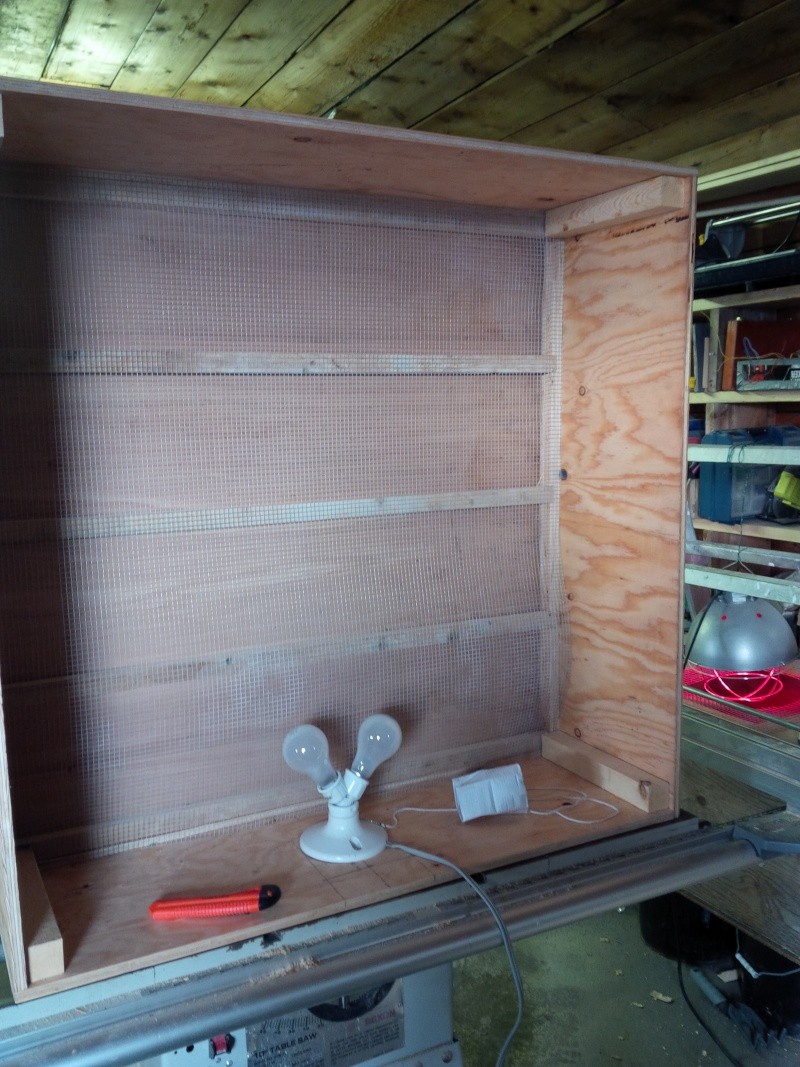
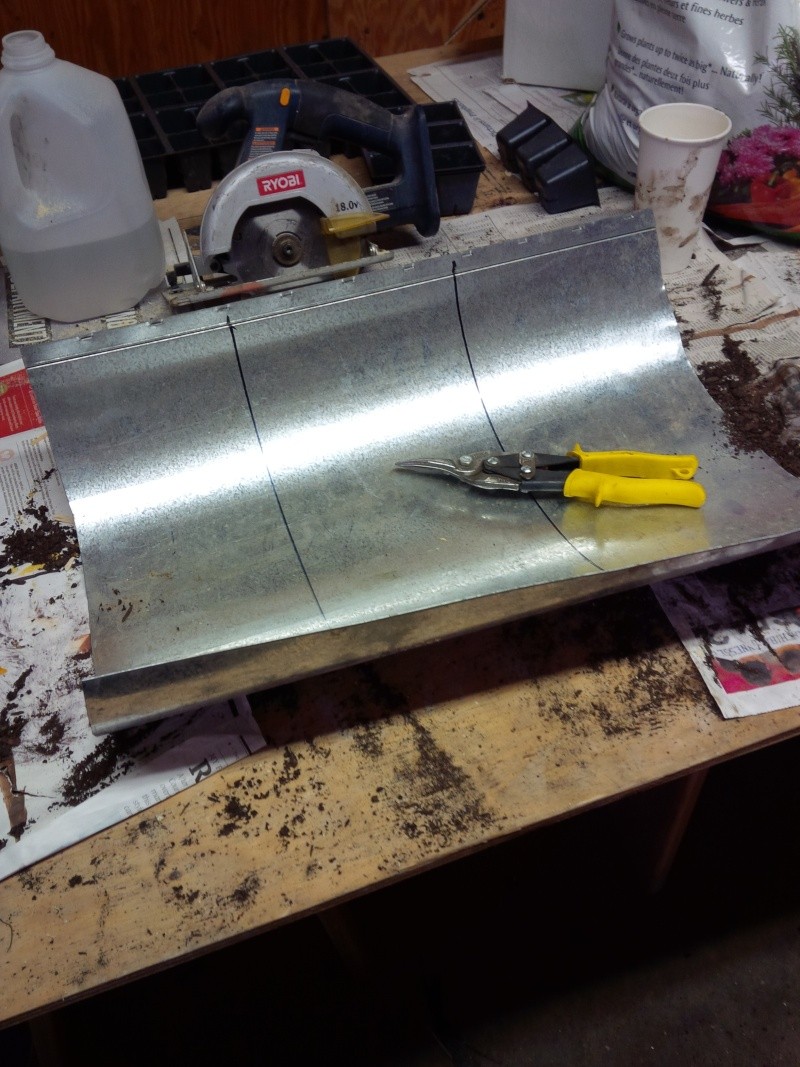
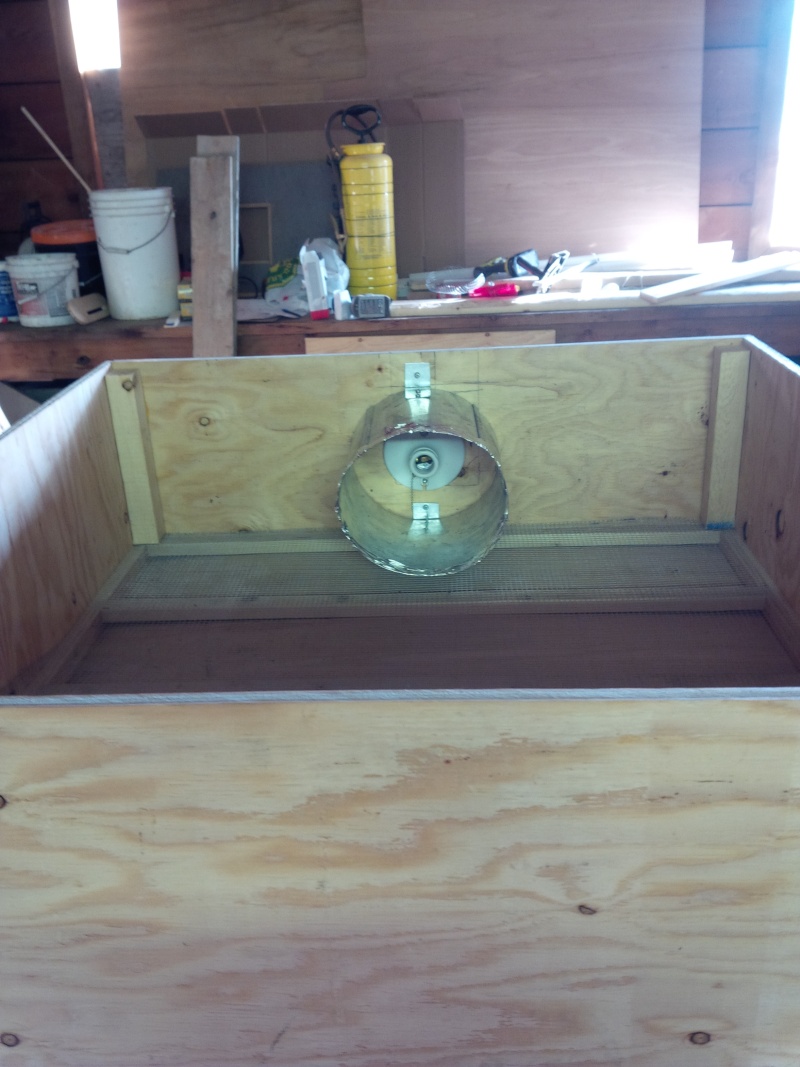
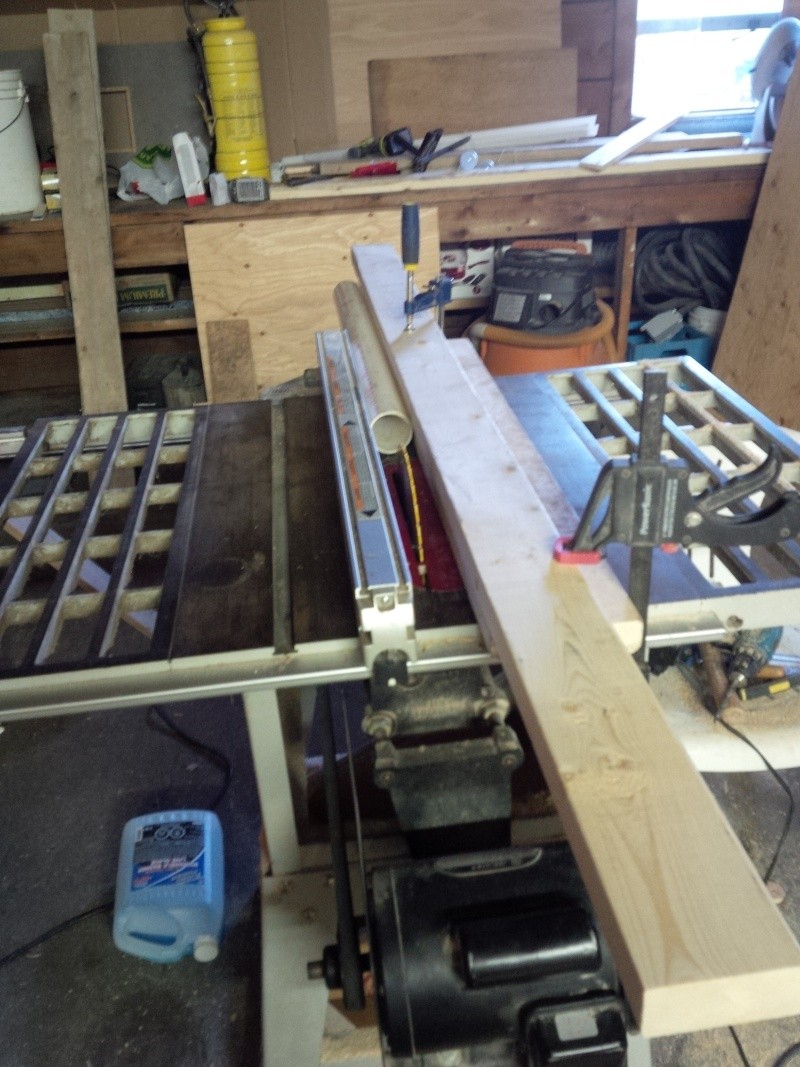
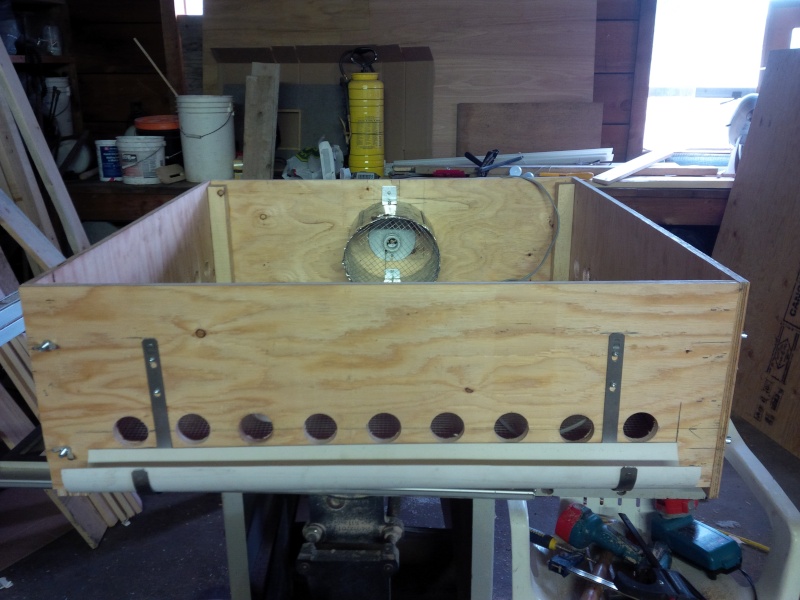
Well round 2 are peeping in the bator so I have to get my butt in gear. Here is what I have done today.
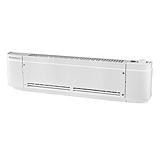
The first picture is what you can buy, all the pictures after are "home Made"

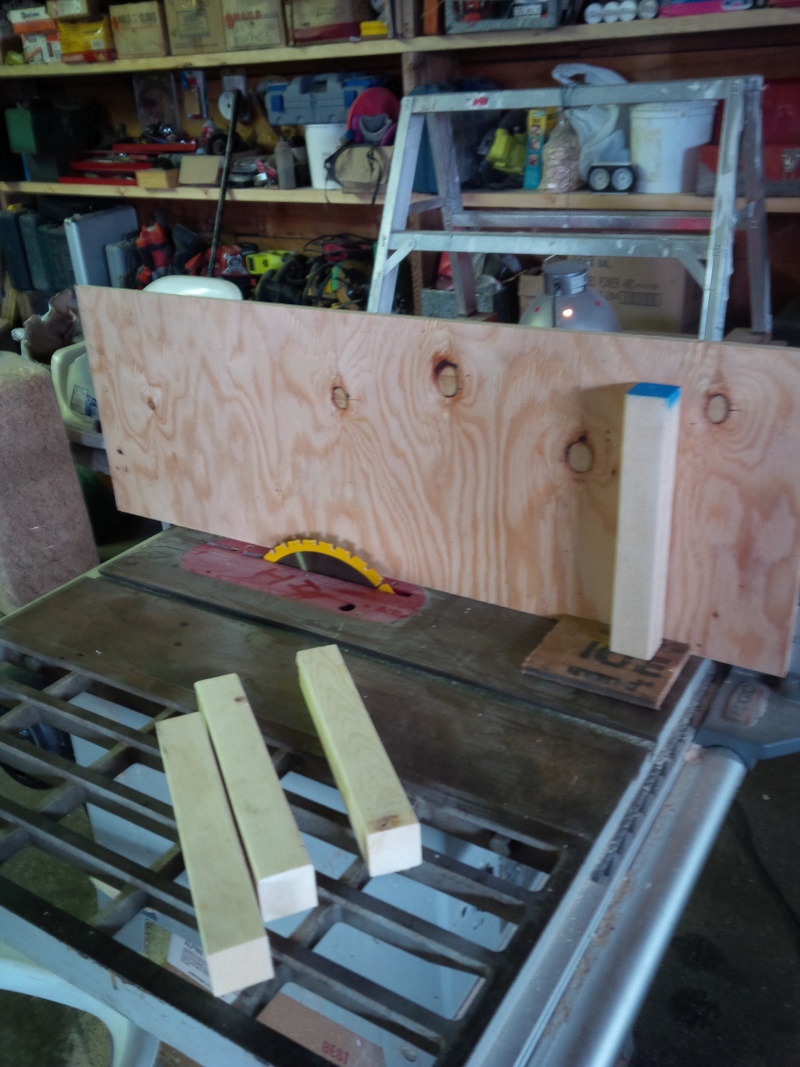
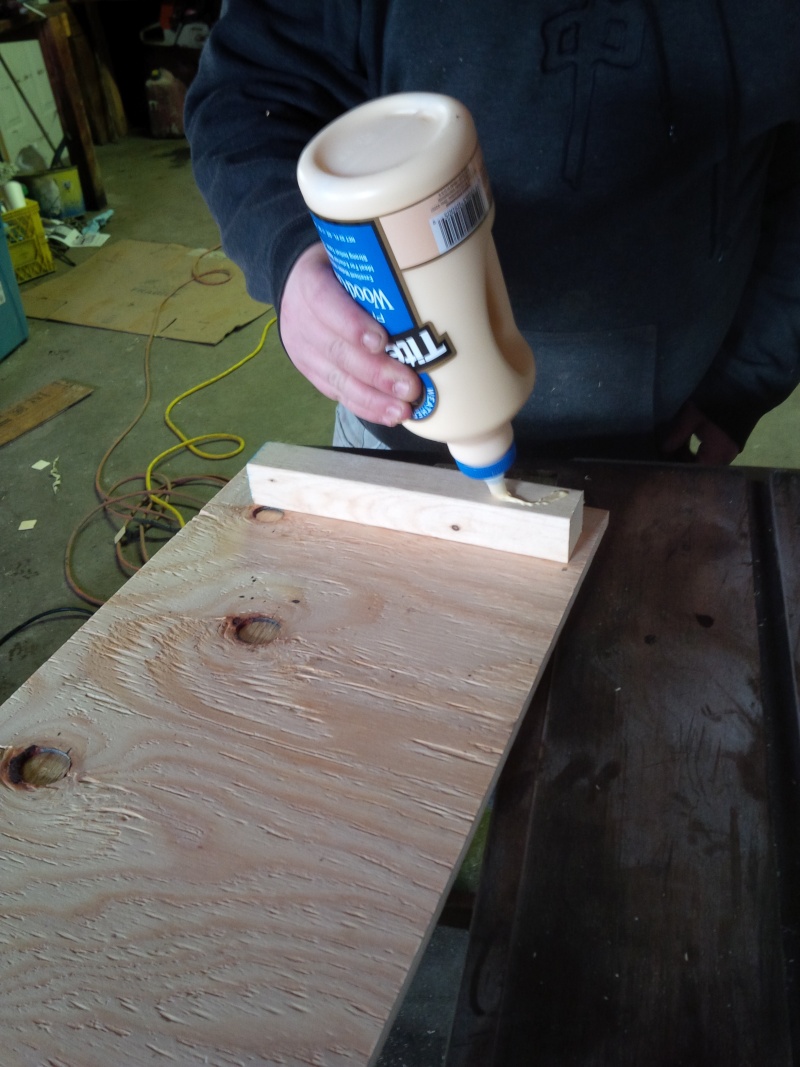
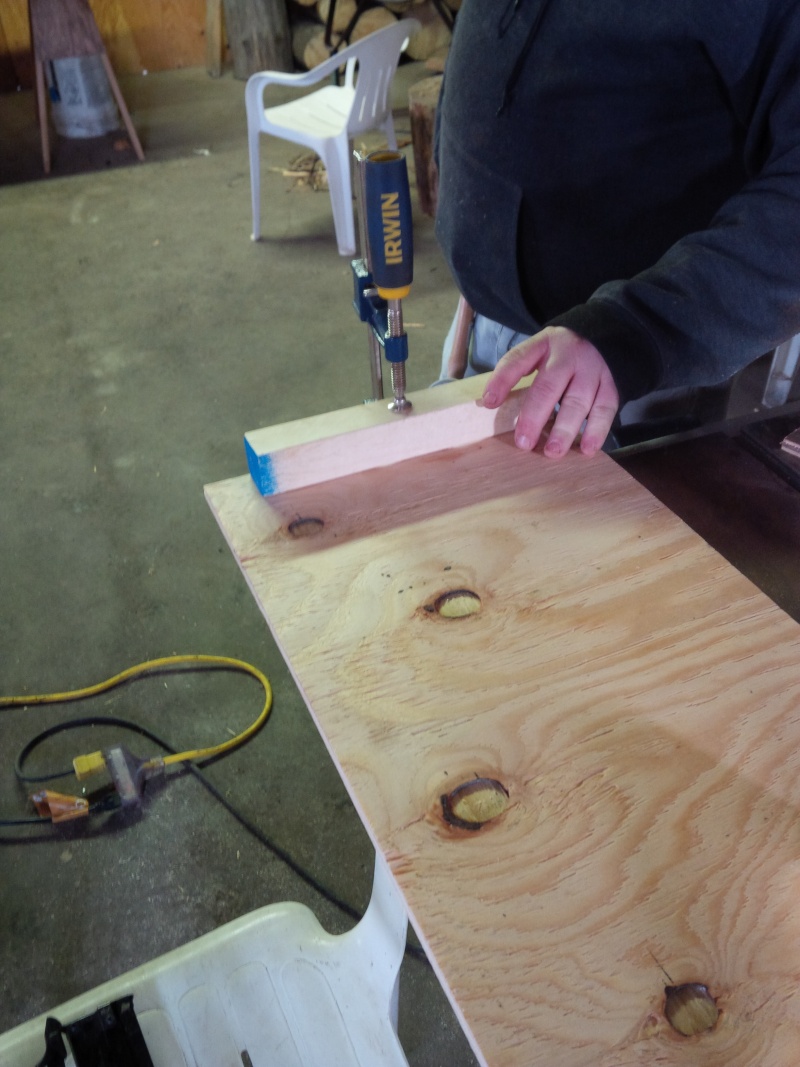
Home Made Battery Style Brooder. Picture Heavy. 00110
Home Made Battery Style Brooder. Picture Heavy. Img_0023
Home Made Battery Style Brooder. Picture Heavy. Img_0024
Home Made Battery Style Brooder. Picture Heavy. Img_0025
Home Made Battery Style Brooder. Picture Heavy. Img_0026
Home Made Battery Style Brooder. Picture Heavy. Img_0027
Home Made Battery Style Brooder. Picture Heavy. Img_0028
Home Made Battery Style Brooder. Picture Heavy. Img_0029
Home Made Battery Style Brooder. Picture Heavy. Img_0030
Home Made Battery Style Brooder. Picture Heavy. Img_0031
Home Made Battery Style Brooder. Picture Heavy. Img_0032
Home Made Battery Style Brooder. Picture Heavy. Img_0033
Home Made Battery Style Brooder. Picture Heavy. Img_0034
Home Made Battery Style Brooder. Picture Heavy. Img_0035
Home Made Battery Style Brooder. Picture Heavy. Img_0036
Home Made Battery Style Brooder. Picture Heavy. Img_0037
Home Made Battery Style Brooder. Picture Heavy. Img_0038
Home Made Battery Style Brooder. Picture Heavy. Img_0039
Home Made Battery Style Brooder. Picture Heavy. Img_0040
Home Made Battery Style Brooder. Picture Heavy. Img_0041
Home Made Battery Style Brooder. Picture Heavy. Img_0042
Home Made Battery Style Brooder. Picture Heavy. Img_0043
Home Made Battery Style Brooder. Picture Heavy. Img_0044
Home Made Battery Style Brooder. Picture Heavy. Img_0045
Home Made Battery Style Brooder. Picture Heavy. Img_0046
Home Made Battery Style Brooder. Picture Heavy. Img_0047
Home Made Battery Style Brooder. Picture Heavy. Img_0048
Home Made Battery Style Brooder. Picture Heavy. Img_0049
Home Made Battery Style Brooder. Picture Heavy. Img_0050
Home Made Battery Style Brooder. Picture Heavy. Img_0051
Home Made Battery Style Brooder. Picture Heavy. Img_0052

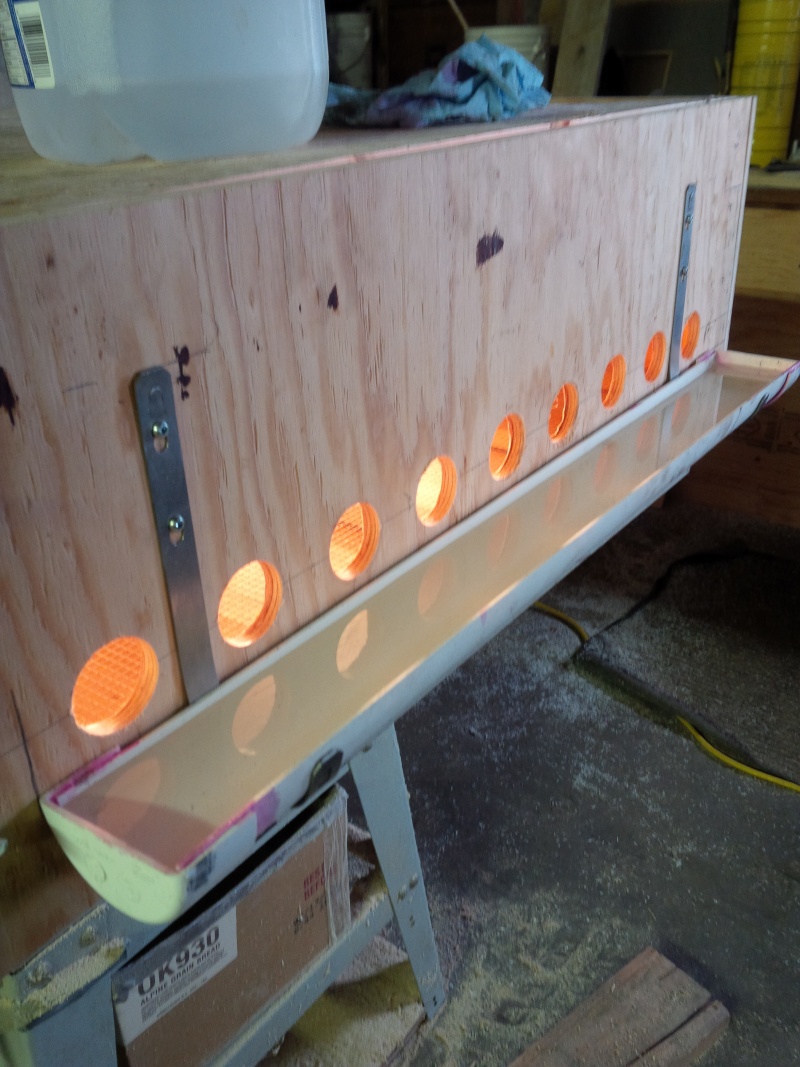
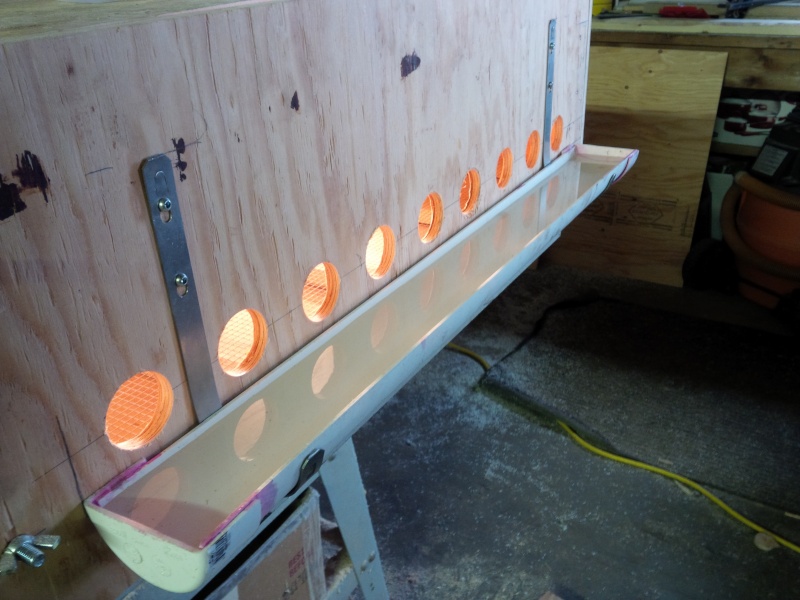
I will finish the feeder and water troughs tomorrow. more pictures to come.


Here is what I did today. Right now I am testing the temperature with out any chicks. I will put the 2 week old chicks in later today. Very Happy
Cool


Home Made Battery Style Brooder. Picture Heavy. Img_0053
Home Made Battery Style Brooder. Picture Heavy. Img_0054
Home Made Battery Style Brooder. Picture Heavy. Img_0055
Home Made Battery Style Brooder. Picture Heavy. Img_0056
Home Made Battery Style Brooder. Picture Heavy. Img_0057
Home Made Battery Style Brooder. Picture Heavy. Img_0058
Home Made Battery Style Brooder. Picture Heavy. Img_0059


Last edited by bcboy on Sun Mar 03, 2013 4:29 pm; edited 3 times in total

http://www.grizzlycurb.ca

CynthiaM

CynthiaM
Golden Member
Golden Member

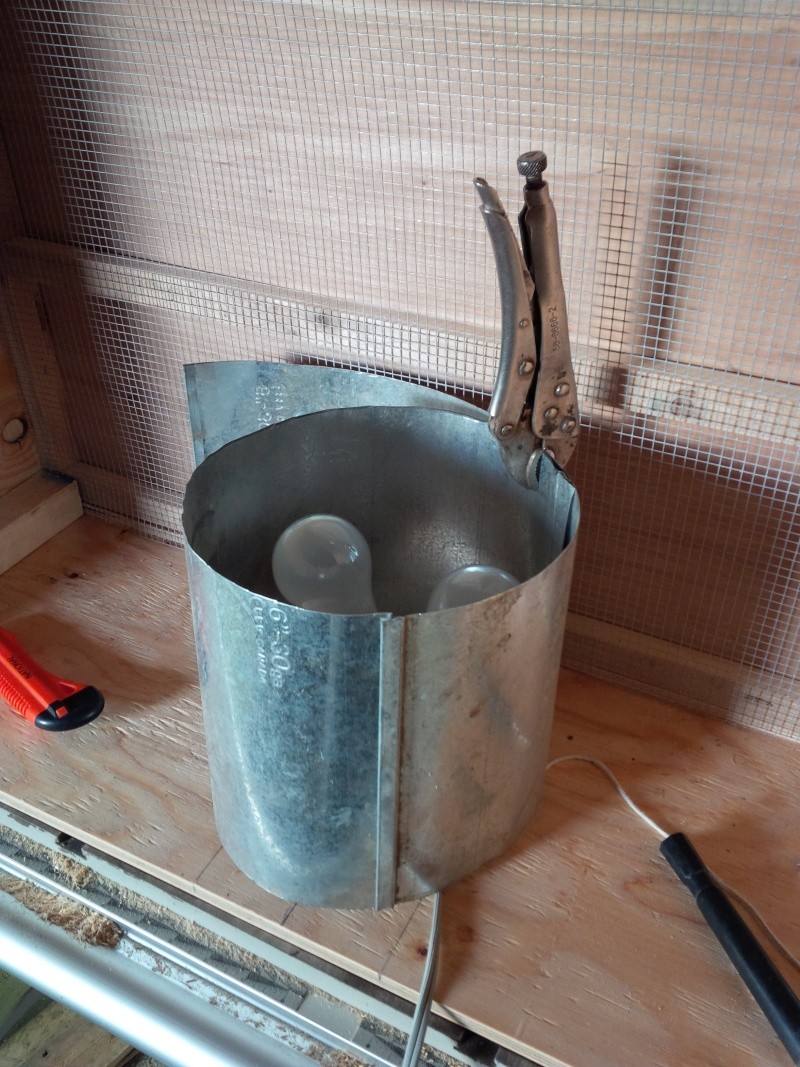
Wow, nice pictures and you surely did do a whole lotta work. It will be nice to see how it all ended up. I would like to see how the metal around the lights work. I have concern that the metal may become very hot and chicks might get burned. Speak to that please. Maybe I am just seeing something that is not a problem. Have an awesome day, CynthiaM.

bcboy

bcboy
Addicted Member
Addicted Member

CynthiaM wrote:Wow, nice pictures and you surely did do a whole lotta work. It will be nice to see how it all ended up. I would like to see how the metal around the lights work. I have concern that the metal may become very hot and chicks might get burned. Speak to that please. Maybe I am just seeing something that is not a problem. Have an awesome day, CynthiaM.
Good point about the chicks getting burnt. I may have to do one more heat shroud around the first one. I will update with what happens. Very Happy

http://www.grizzlycurb.ca

Schipperkesue

Schipperkesue
Golden Member
Golden Member

I too was having thoughts of burnt chicks, but a piece of floor wire over the opening will solve that nicely.

I am also wondering about ease of cleaning. I have a similar project in mind. It is based on a brooder shown by Dan. The floor is raised and there is a low slot at the front of the brooder in which to slide a false floor beneath the wire. You can slide the floor out and scrape and clean the poop off. I plan something similar using a false floor of lightweight coroplast.

bcboy

bcboy
Addicted Member
Addicted Member

Schipperkesue wrote:I too was having thoughts of burnt chicks, but a piece of floor wire over the opening will solve that nicely.

I am also wondering about ease of cleaning. I have a similar project in mind. It is based on a brooder shown by Dan. The floor is raised and there is a low slot at the front of the brooder in which to slide a false floor beneath the wire. You can slide the floor out and scrape and clean the poop off. I plan something similar using a false floor of lightweight coroplast.

The whole brooder is held together with 8 wing nuts, two at each corner. It is a chase around design. All the pieces in the brooder are floating and just pop out except the light and shroud. I will stain all parts with oil base stain at a later date so I can take the garden hose to it. It will disassemble and reassemble in minutes.
This brooder is based on the first picture. If you do a Google search on "Battery Brooder" you will see the well know manufacture.
I have a piece of fabric cloth molded for the opening in the front already made. Wink
Do you have a link to Dan's brooder, I can't find the link and would like to take a peek. Wink
Yes the floor is raised and there is a slide out poop tray for easy cleaning. Wink

http://www.grizzlycurb.ca

Schipperkesue

Schipperkesue
Golden Member
Golden Member

KathyS

KathyS
Golden Member
Golden Member

I think its awesome that you have shared these great step by step photos for other DIY oriented people. I'm always on the lookout for a great brooder design. I have a sturdy wooden box that I painted a pretty lavender color with left-over paint from my daughter's bedroom. I'm sure the chicks approve. Wink

This you-tube link to John Blehm's hatchery tour was posted once a while back. Maybe it's a good time to bring it back for those who haven't seen it yet. He operates on a large scale compared to most of us, but I do like his home-made brooder design.

https://youtu.be/hWxvN_RO2ck

http://www.hawthornhillpoultry.com

bcboy

bcboy
Addicted Member
Addicted Member

Here is what I did today. Right now I am testing the temperature with out any chicks. I will put the 2 week chicks in later today. Very Happy
Cool


Home Made Battery Style Brooder. Picture Heavy. Img_0053
Home Made Battery Style Brooder. Picture Heavy. Img_0054
Home Made Battery Style Brooder. Picture Heavy. Img_0055
Home Made Battery Style Brooder. Picture Heavy. Img_0056
Home Made Battery Style Brooder. Picture Heavy. Img_0057
Home Made Battery Style Brooder. Picture Heavy. Img_0058
Home Made Battery Style Brooder. Picture Heavy. Img_0059

http://www.grizzlycurb.ca

bcboy

bcboy
Addicted Member
Addicted Member

CynthiaM wrote:Wow, nice pictures and you surely did do a whole lotta work. It will be nice to see how it all ended up. I would like to see how the metal around the lights work. I have concern that the metal may become very hot and chicks might get burned. Speak to that please. Maybe I am just seeing something that is not a problem. Have an awesome day, CynthiaM.


I was think of different heating option....
What do you think of a base board heater? It would hang from the ceiling like in the first picture or I could build a cage for it.
http://www.canadiantire.ca/AST/browse/3/HouseHome/1/HeatingAirConditioning/PortableBaseboardHeaters/PRDOVR~0522510P/500W+Garrison+Baseboard+Heater.jsp?locale=en
Home Made Battery Style Brooder. Picture Heavy. 0522510_1?$medium$&defaultImage=image_na_EN

http://www.grizzlycurb.ca

uno

uno
Golden Member
Golden Member

Awesome work!

To avoid sizzling the chicks, is there any way you could suspend your heat source overhead?

My brooder, a roll of cardboard, is heated with a goose neck lamp bent low into the brooder. The chicks cannot touch it because it is above them and the lights themselves are not in contact with any combustible surfaces.

It would be sad to burn some chicks. It would be horrible to burn your house down! Check for fire safety, then check again! (we've had two fires, a little phobic)

bcboy

bcboy
Addicted Member
Addicted Member

uno wrote:Awesome work!

To avoid sizzling the chicks, is there any way you could suspend your heat source overhead?

My brooder, a roll of cardboard, is heated with a goose neck lamp bent low into the brooder. The chicks cannot touch it because it is above them and the lights themselves are not in contact with any combustible surfaces.

It would be sad to burn some chicks. It would be horrible to burn your house down! Check for fire safety, then check again! (we've had two fires, a little phobic)
Thanks.
So it has been plugged in for 6 hours. The bottom is slightly warm, side get warmer and the top of the metal shroud is hot. The plywood At the top is slightly warm to the touch. I have put another piece of sheet metal shroud around the first. This should act like a heat sink and dissipate the heat. The tin duct pipe should be cool to the touch now. I will post the results after it heats up.

http://www.grizzlycurb.ca

coopslave

coopslave
Golden Member
Golden Member

What about just a wire mesh guard around the bulbs instead of solid metal? Would keep the chicks away from it but let the heat spread a bit better.

CynthiaM

CynthiaM
Golden Member
Golden Member

You are coming along very nicely with this brooder, it is going to be a work of wonder for surely!! Good job. Not to rain on your parade, but this is what my Husband did in our hovabrooder he made, so the chicks were protected from the heat lamps. This is a totally different kind of brooder, but you will get the idea.

The lights are not on the top, but on the sides, this is the roof of the hovabrooder

Home Made Battery Style Brooder. Picture Heavy. Hoverbrooder1

This is how it looks like when the unit in down, the chicks can get underneath it to keep warm if they want

Home Made Battery Style Brooder. Picture Heavy. Hoverbrooder82

Hope this can give some ideas too. Have an awesome day, CynthiaM.

bcboy

bcboy
Addicted Member
Addicted Member

I was thinking about changing the bulbs to a heat lamp style bulb. The heat lamp bulbs are insulated around the top and don't heat up mas much. Does the the ceiling get hot with those bulbs? What is the distance from the bulb to the OSB ceiling? Thanks for posting the pictures CynthiaM any help is much appreciated. Very Happy

http://www.grizzlycurb.ca

bcboy

bcboy
Addicted Member
Addicted Member

Here are some new pictures of the older chicks in their new brooder.
Home Made Battery Style Brooder. Picture Heavy. Img_0060

Home Made Battery Style Brooder. Picture Heavy. Img_0061

http://www.grizzlycurb.ca

foal0069


Active Member
Active Member

Hey BCBoy love the pics but your chicks are turning green Laughing

CynthiaM

CynthiaM
Golden Member
Golden Member

bcboy, I would think that the lights in my hovabrooder are about 6 inches from the roof, it does not get hot enough to do any harm. I use 125 watt lights, not 250. I found the red 250 lights were too hot.

I really, really like the idea of how you have made the holes for the heads to poke through. A real space saver inside the brooder. I may ask my Husband to revamp mine as such, I really think it an excellent design. As I have said before, everything my Husband builds for me is a work in progress and one day, everything will be as close to as perfectly set up as could be....poor man, when will it ever stop, smiling. I love your brooders by the way, you have done a most excellent job. Have an awesome day, CynthiaM.

mirycreek

mirycreek
Golden Member
Golden Member

I like your brooder!

Just a thought I had about the top and temp control, you may want to have a way to adjust the top (either half wire/half wood or something) because as the temp warms up and/or they get a little older you can adjust especially during the daytime.
I have had really good luck with a dimmer switch as well. You can buy a dimmer switch that you just plug into at the hardware stores.

I brood my chicks on the porch and it really changes temp a lot between night and day in the Spring.

http://www.feathers-farm.webs.com

bcboy

bcboy
Addicted Member
Addicted Member

mirycreek wrote:I like your brooder!

Just a thought I had about the top and temp control, you may want to have a way to adjust the top (either half wire/half wood or something) because as the temp warms up and/or they get a little older you can adjust especially during the daytime.
I have had really good luck with a dimmer switch as well. You can buy a dimmer switch that you just plug into at the hardware stores.


Like this one?
http://www.homehardware.ca/en/rec/index.htm/Plumbing-Electrical/Electrical/Wiring-Devices/Switches/Dimmer/Table-Lamp-Dimmer-Switch-for-All-Bulbs/_/N-ntjwrZ1z141ey/R-I3674485
Home Made Battery Style Brooder. Picture Heavy. 36744851

http://www.grizzlycurb.ca

mirycreek

mirycreek
Golden Member
Golden Member

Thats the one! Very Happy

http://www.feathers-farm.webs.com

CynthiaM

CynthiaM
Golden Member
Golden Member

Getting back to the holes in the brooder. What size are they? Have you tried new chicks in the brooder yet to see if they can get out through that hole? That would be a bummer to have a whack of chicks squeeze out through the holes. Nice set up box, by way, have an awesome day, CynthiaM.

bcboy

bcboy
Addicted Member
Addicted Member

CynthiaM wrote:Getting back to the holes in the brooder. What size are they? Have you tried new chicks in the brooder yet to see if they can get out through that hole? That would be a bummer to have a whack of chicks squeeze out through the holes. Nice set up box, by way, have an awesome day, CynthiaM.
They are 1 3/4". I have not tried with day old chick but the week old's did fine. If they happen to fit through the feed holes I would drill 2 holes and put up a wooden slat. That would be adjustable to make the holes smaller. Like this picture.

Home Made Battery Style Brooder. Picture Heavy. 00110

http://www.grizzlycurb.ca

CynthiaM

CynthiaM
Golden Member
Golden Member

bcboy. Hmmmmm....I think that the 1.5 inch holes would be necessary in my case. My chicks stay in their brooder for about 2-3 weeks, depending on what else is going on and weather. And I am going to have the holes made in my brooder for sure. But what I think I will do is this. For the first week of life, those holes will be covered up and not used. I will continue for the first week to have the water and food right inside the brooder. I think that new chicks are rather dumb. And I wonder if they might not figure out soon enough that they have to poke their heads through a hole to find food. Yep. The more I think about it, the more I think I will use the inside feeding until they really get their sea legs and can figure out life much better. By that age, as you said (week old), they probably would not fit through the hole to squeeze out. And thinking more about it....why would they? They are fraidy cats and would probably think that outside world was too scarey to go into anyways Razz . OK, now Hubby onto some other revamping of something he made for me Laughing have an awesome day, CynthiaM.

Sponsored content


Back to top  Message [Page 1 of 1]

Permissions in this forum:
You cannot reply to topics in this forum